Fiberglass Repairs
request your quote now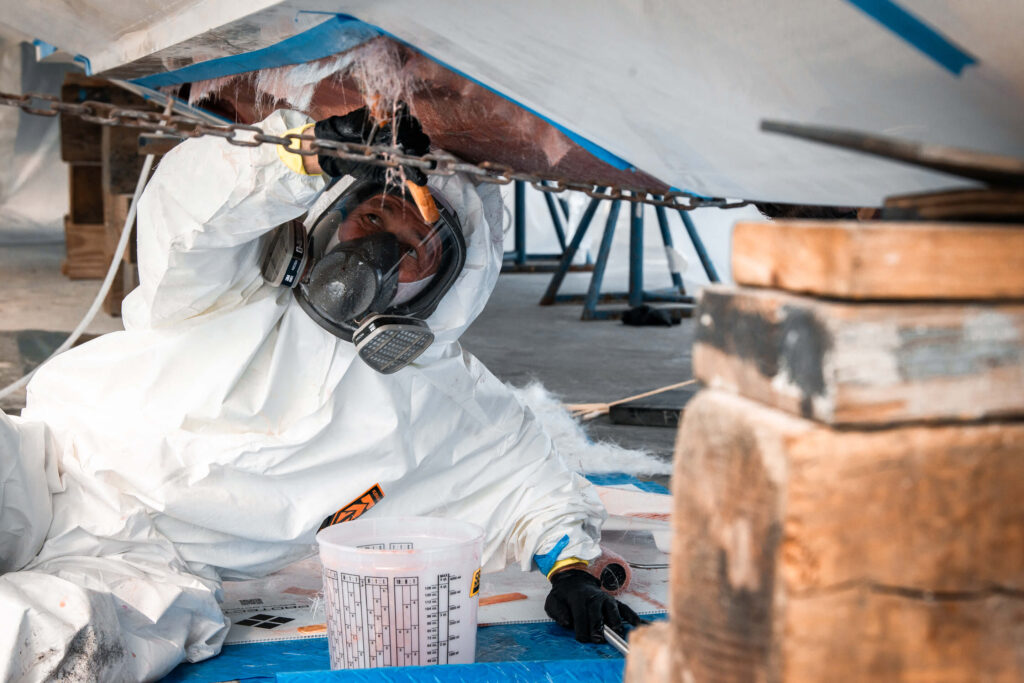
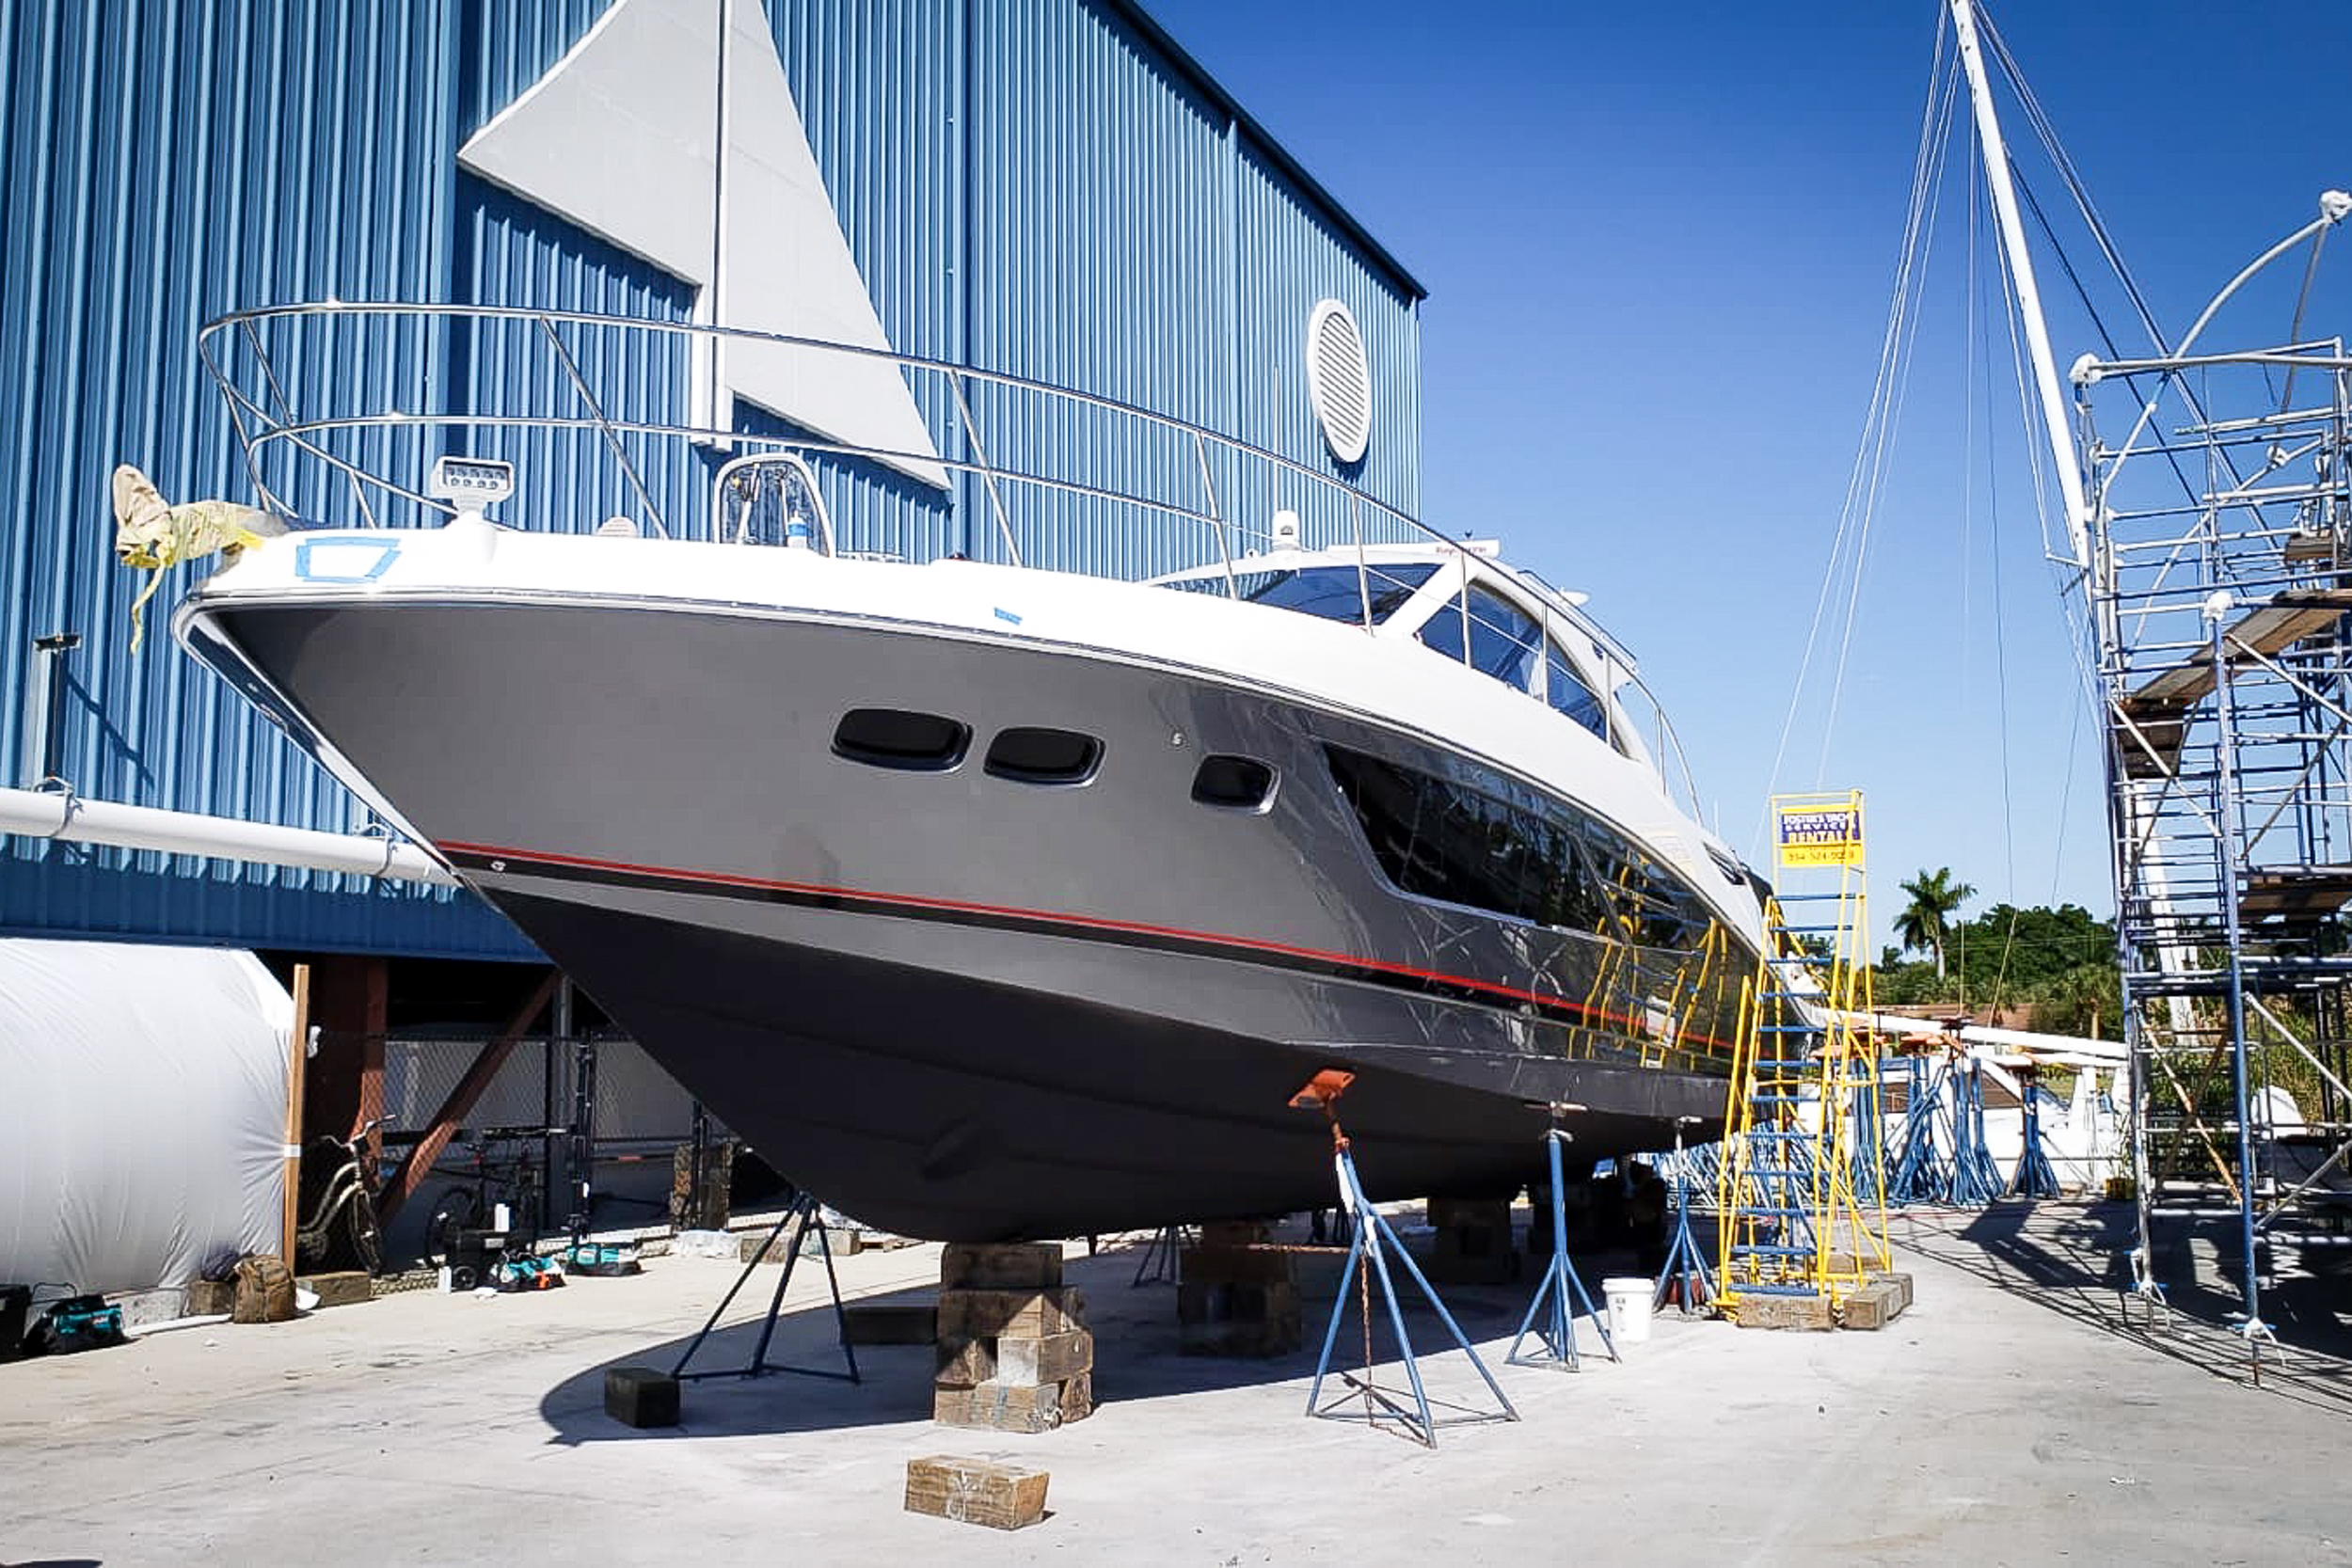
Expert Fiberglass Boat Repairs
At Foster’s Yacht Services, we excel in fiberglass boat repair and painting, adhering to the highest standards. Our meticulous approach ensures that no shortcuts are taken, delivering superior results.
The Precise Repair Process:
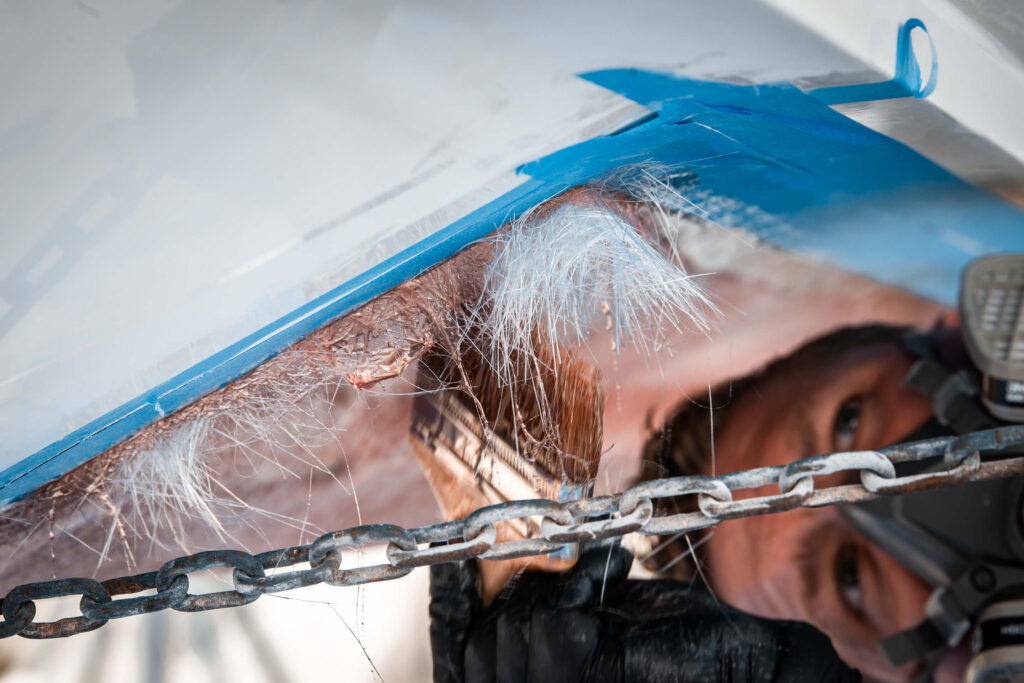
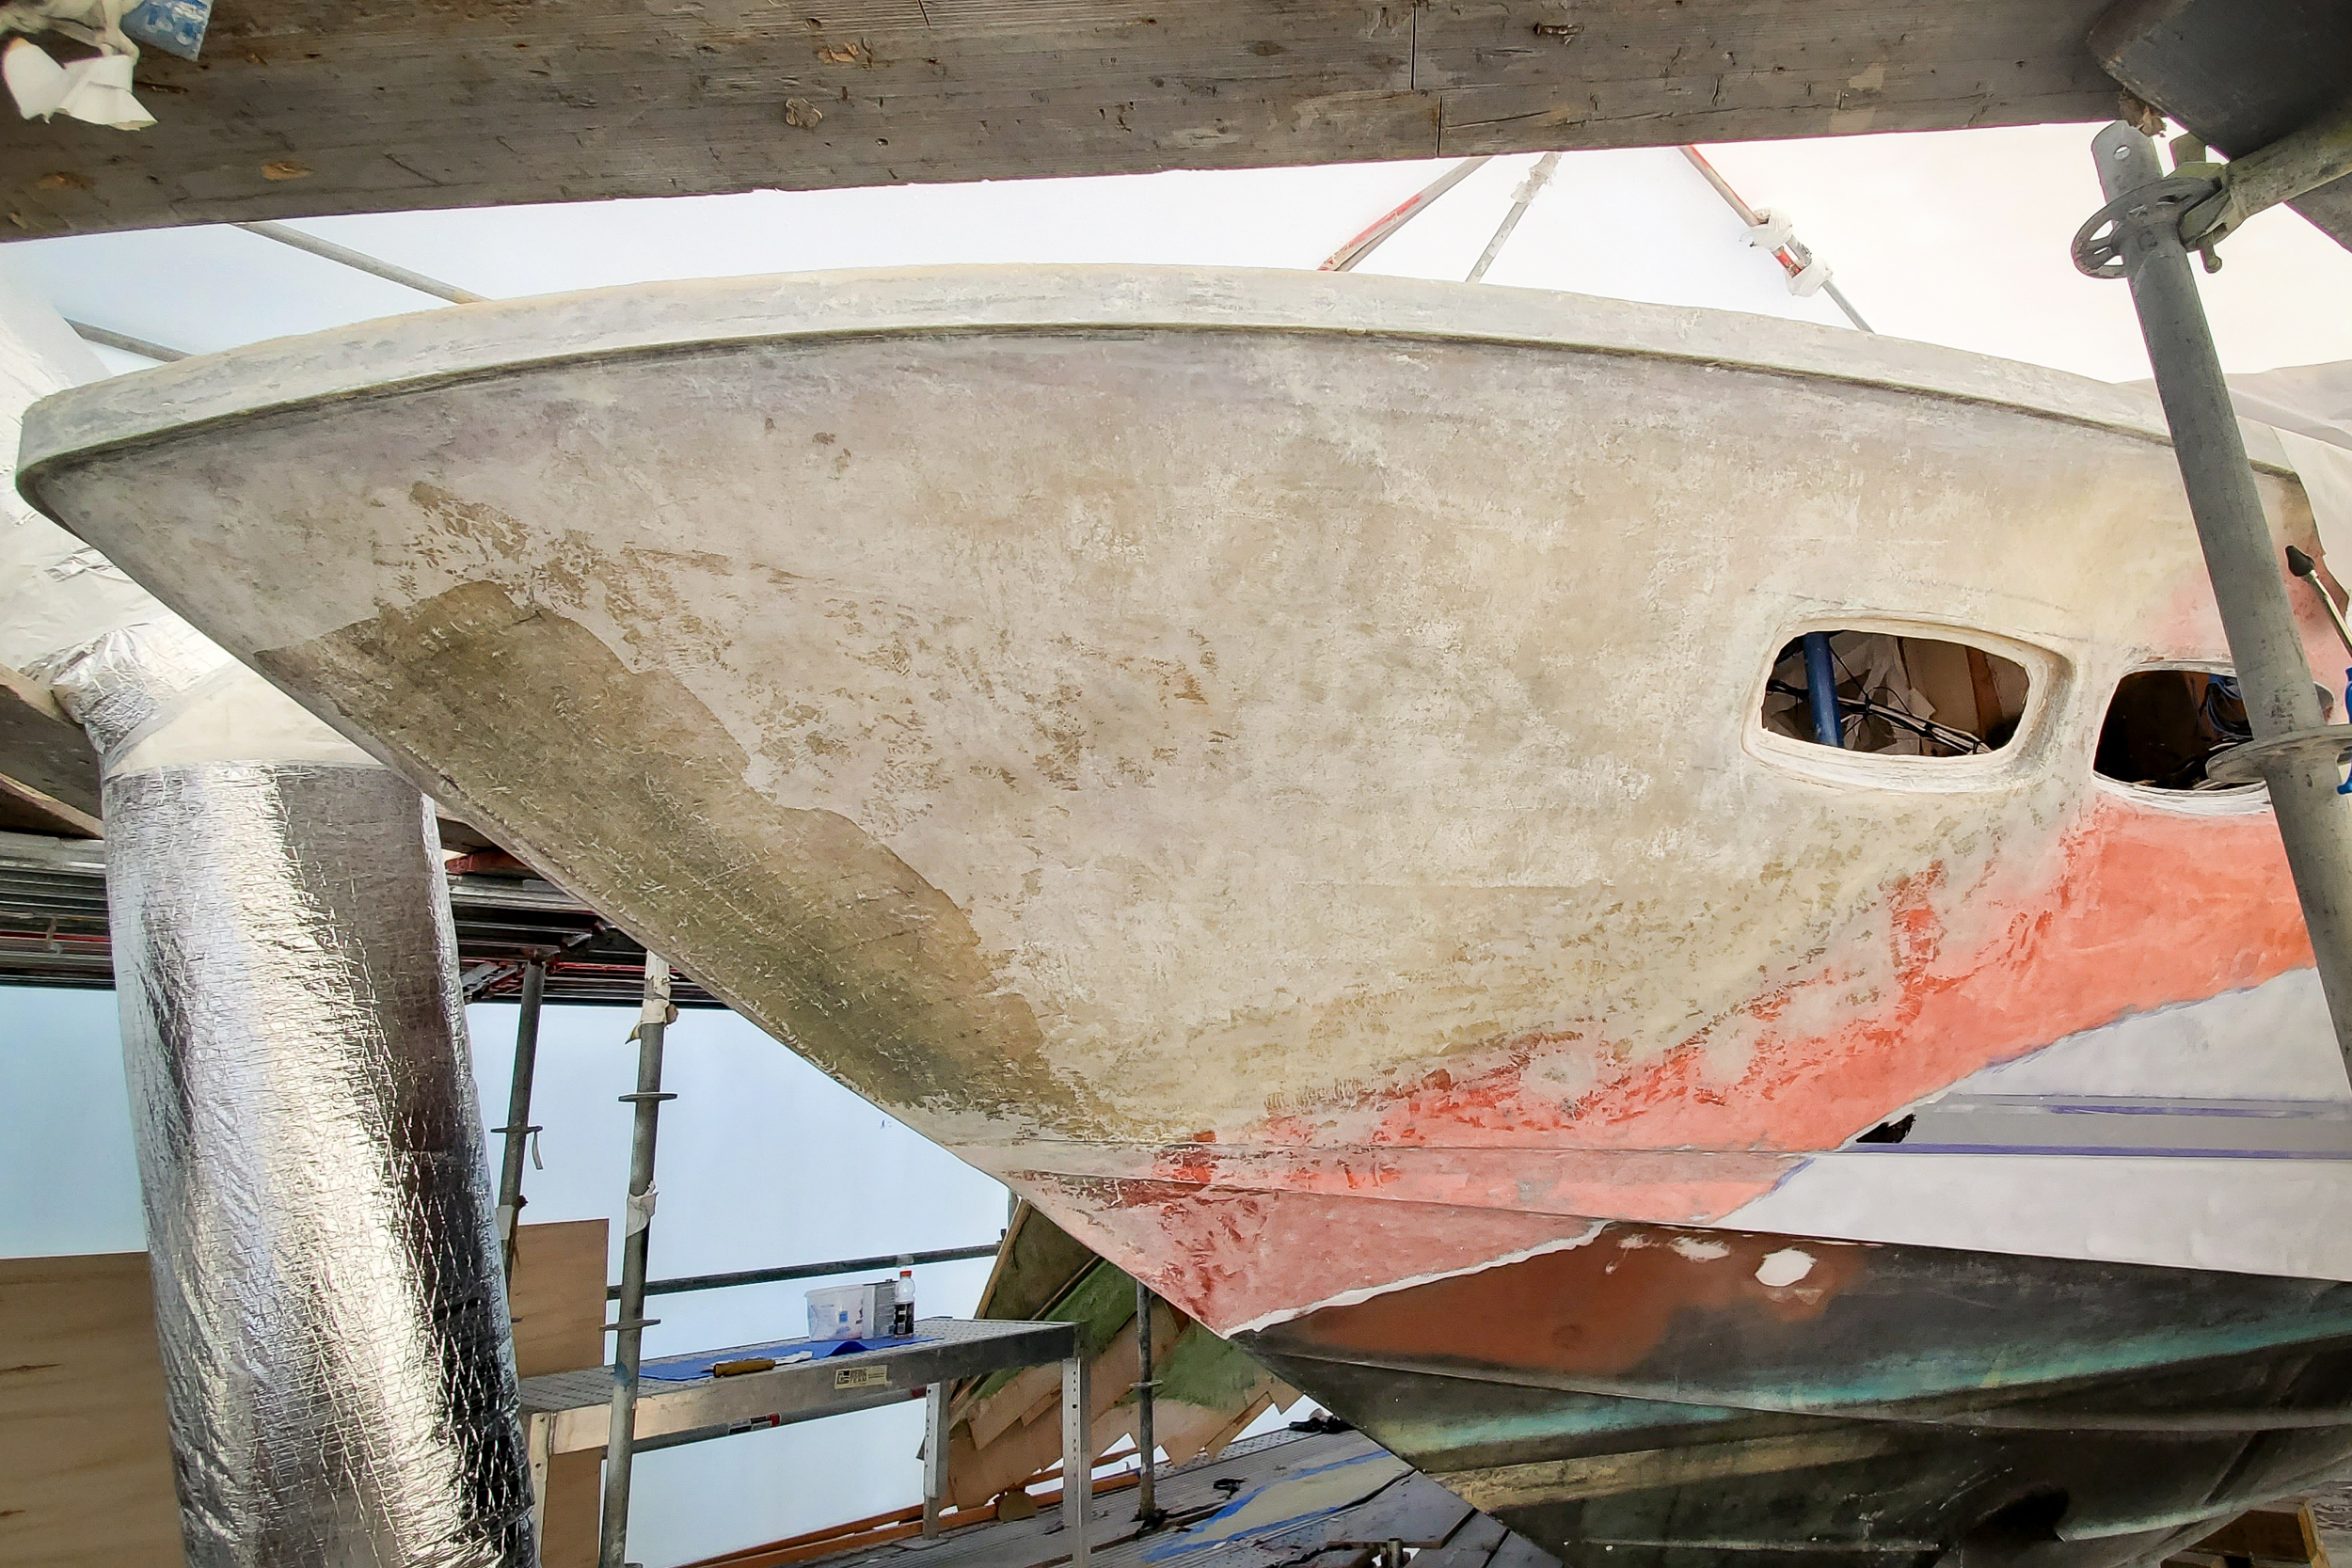
- Grinding: Utilizing a 5” or 7” grinder, we assess the size and depth of the damaged area. Any delamination, cracks, voids, blisters, spalls, or detached plies of fiberglass laminates are thoroughly ground out.
- Beveling: We bevel and feather the edges of the ground-out areas with a 3 to 1 taper width to depth ratio, ensuring a seamless transition with the surrounding intact fiberglass.
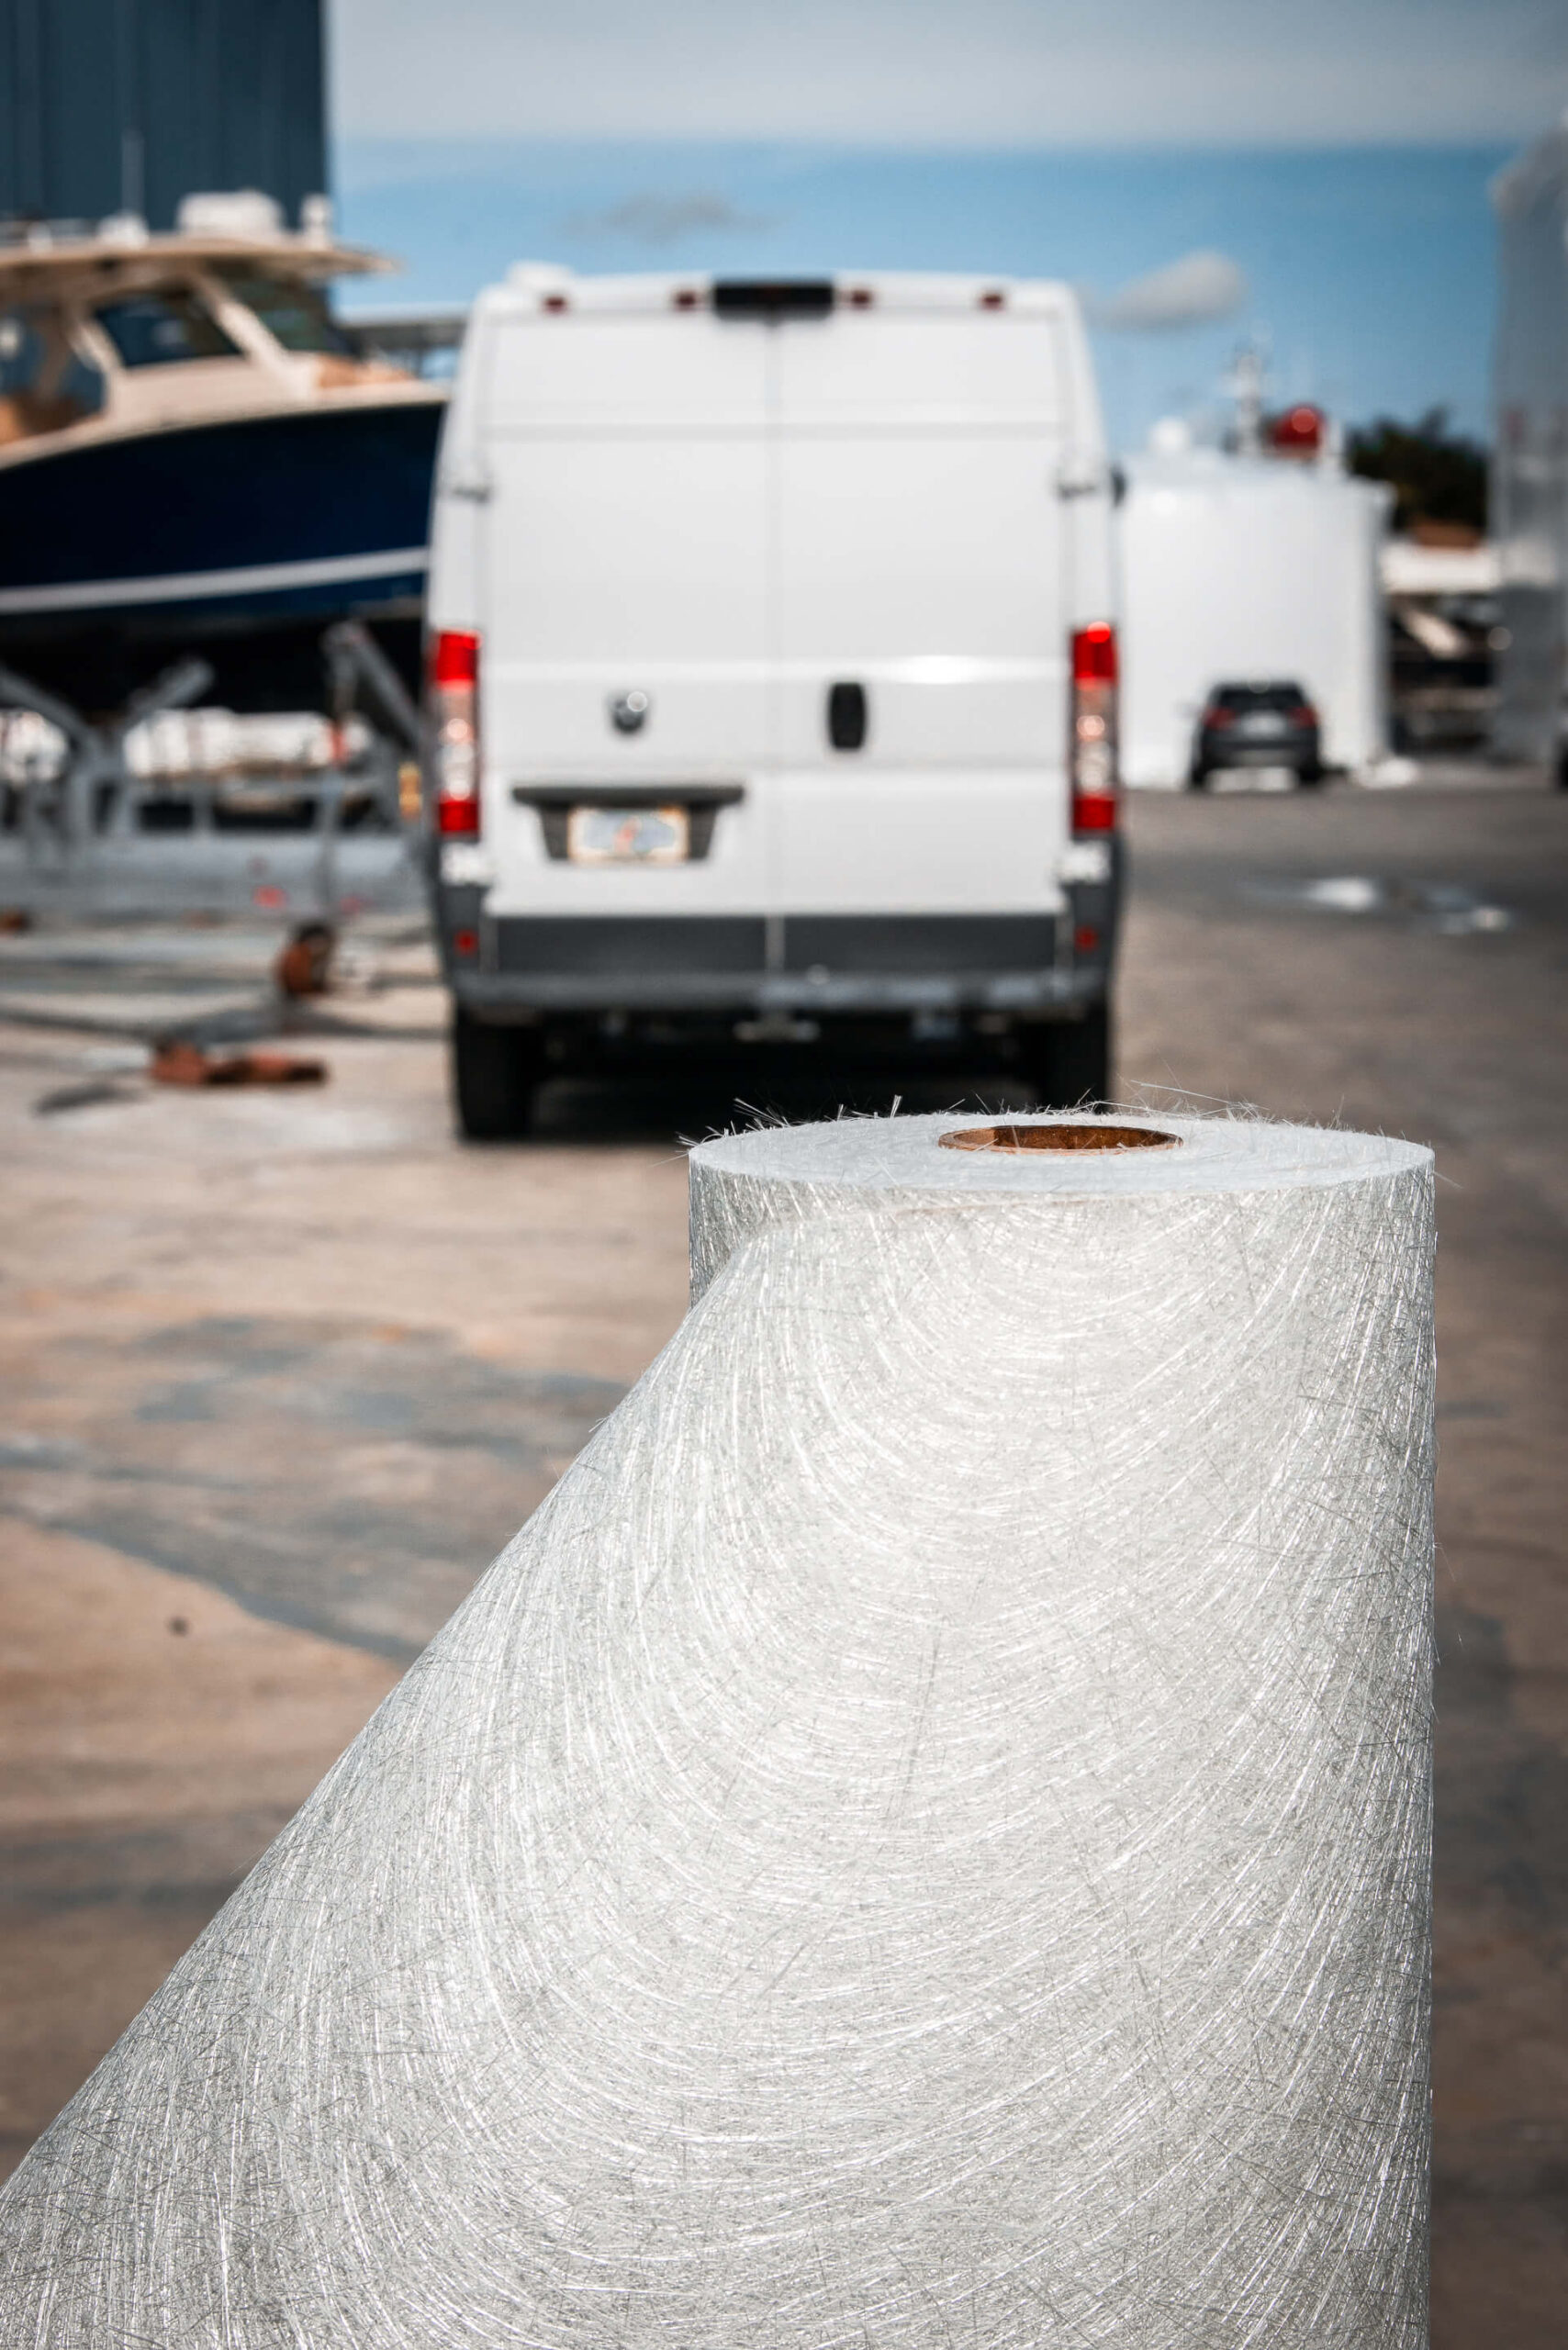
- Preparation: Before laminating, the area is wiped clean with acetone to remove any residue. The appropriate fiberglass material, such as ¾ or 1 ½ ounce CSM, 1708 or 1808 stitched Biaxel, or a heavier 24-ounce cloth like Rovimat, is cut and measured.
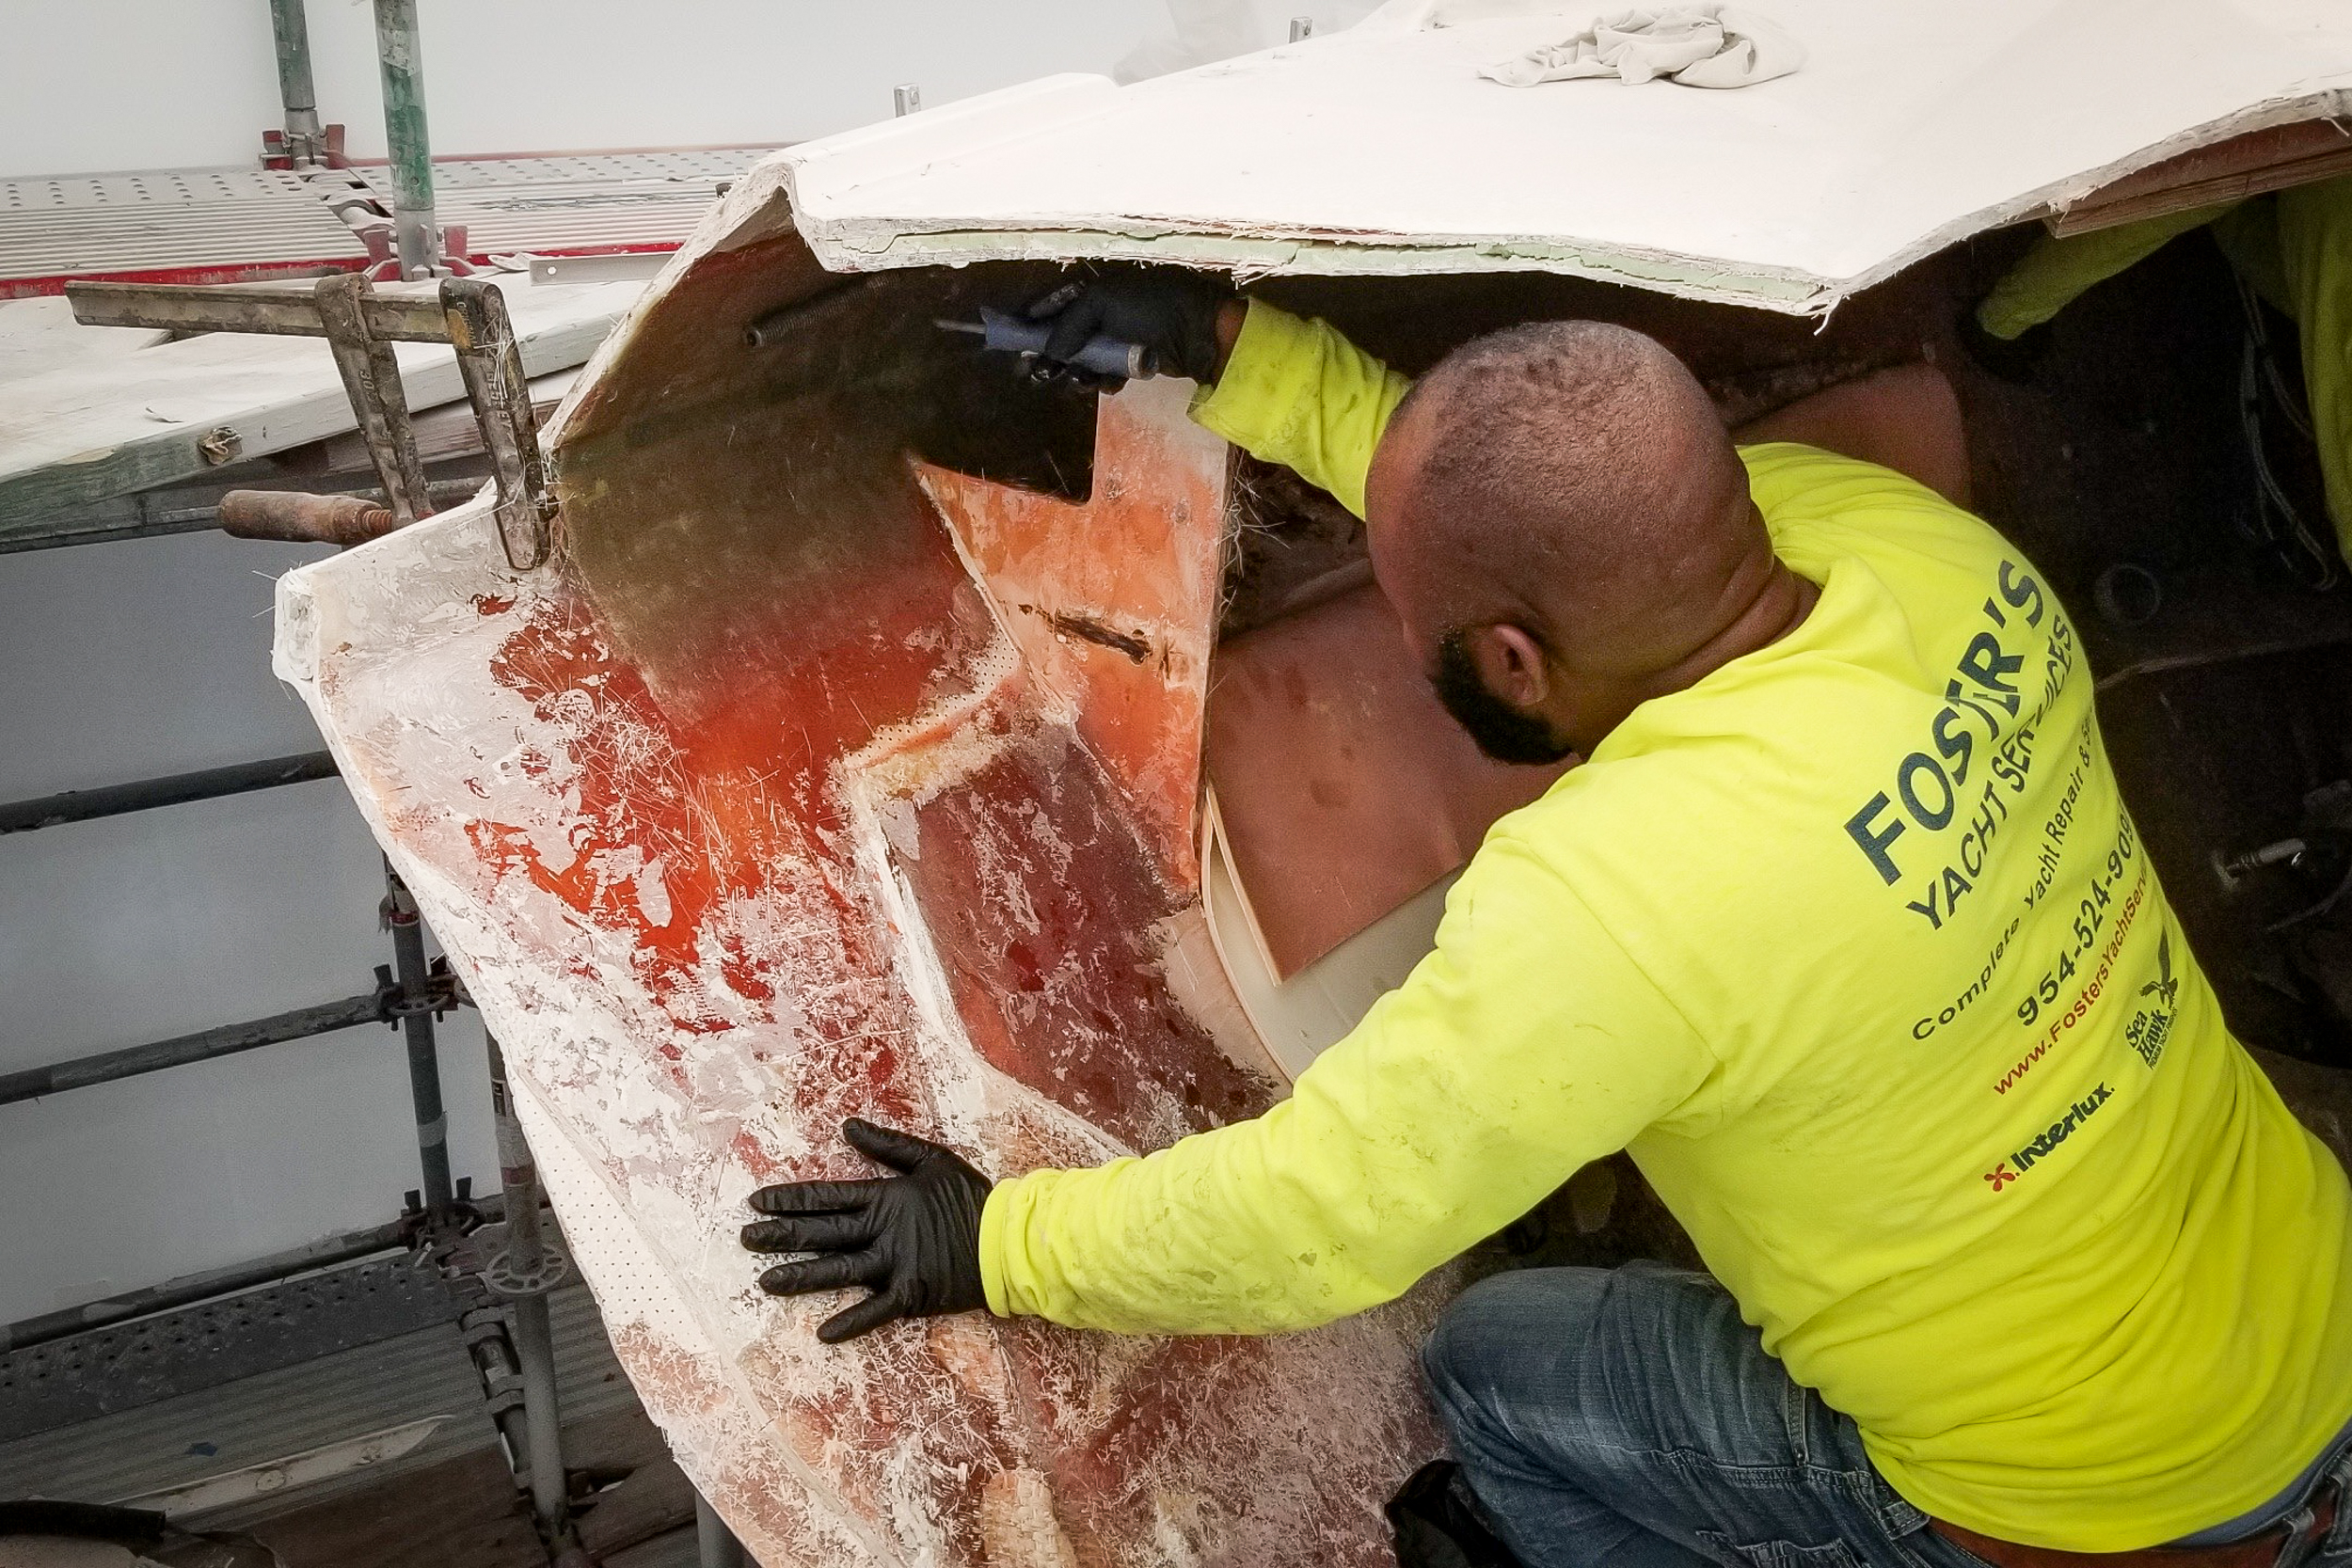
- Laminating: Using catalyzed Vinylester or Epoxy resin, we meticulously lay patches of fiberglass laminates matching the dimensions and shape of the prepped areas. Multiple ply groups are added to achieve a flush surface with the surrounding intact fiberglass.
- Tapered Laminate: Each successive fiberglass ply group is cut 2” larger than the last ply group to create a tapered laminate step back for structural integrity.
- Surface Finishing: A final layer of 1 ½ ounce (CSM) or chopped strand matt ensures a smooth and even surface. Excessive exotherm is avoided during the laminating process, not exceeding 122 degrees Fahrenheit or 50 degrees Celsius.
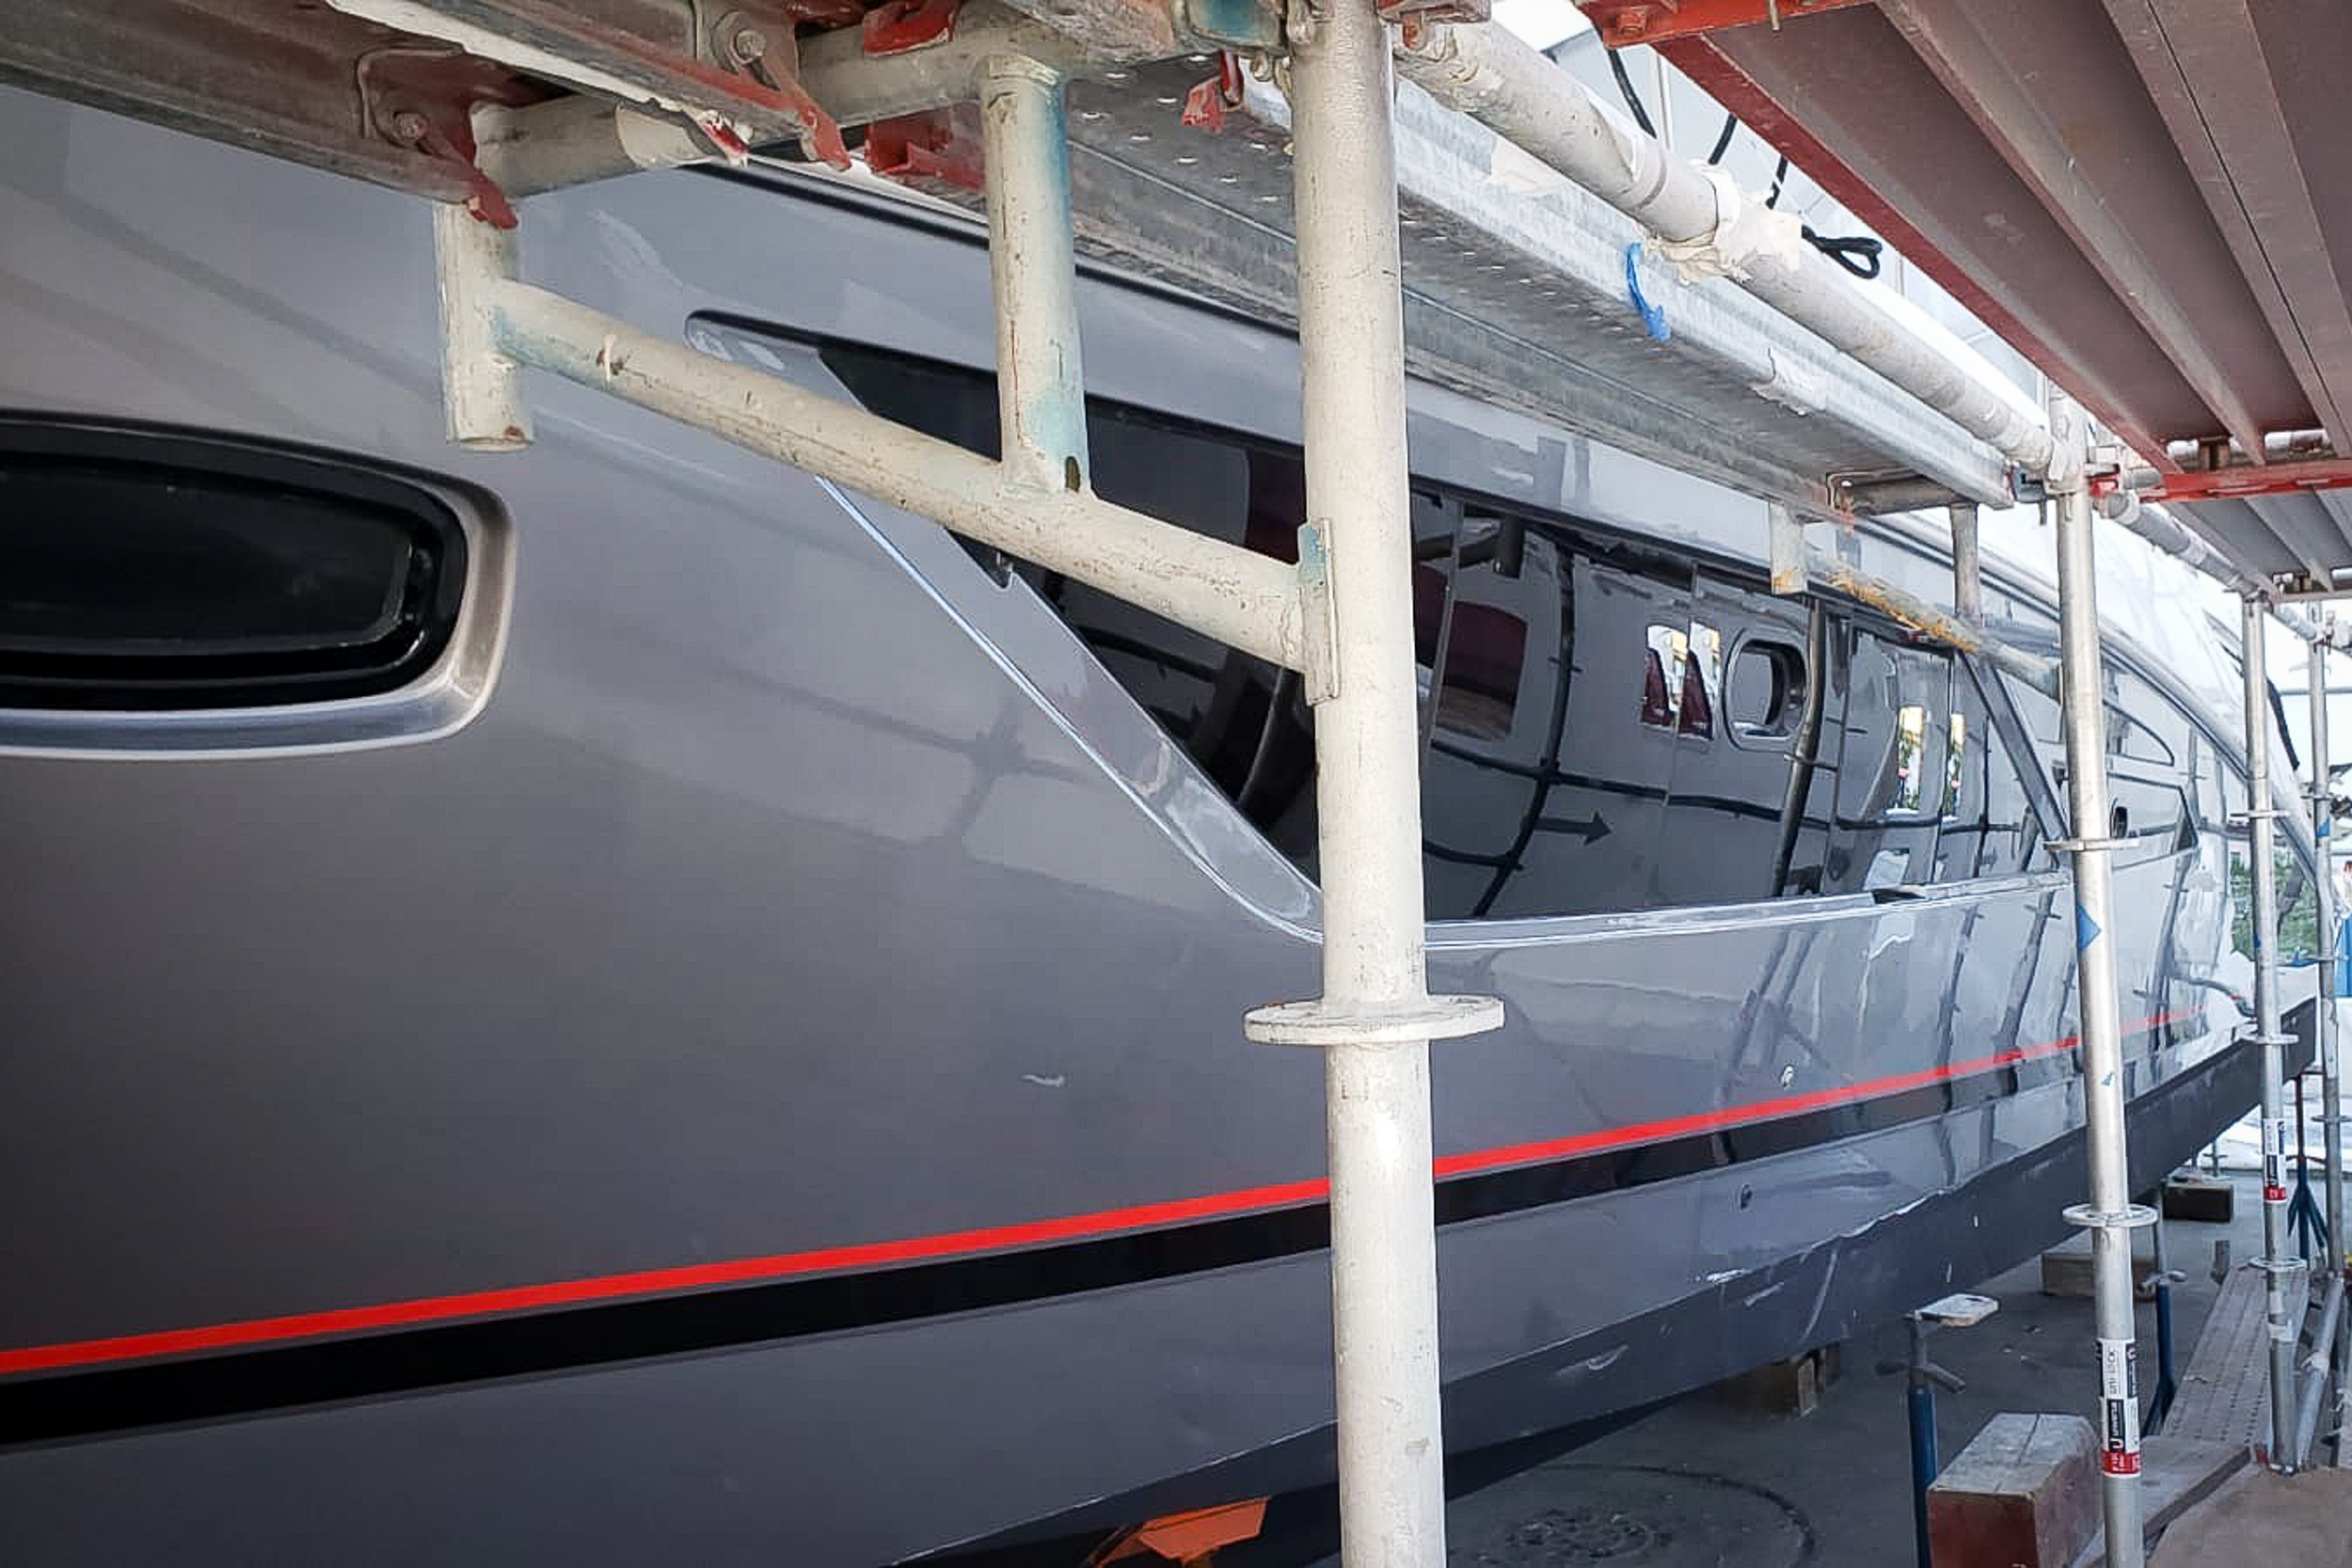
- Polishing: After proper sanding, the area is polished using a marine-soluble compound like Aqua Buff 2000 or Profile 500, followed by Imperial finishing Compound and/or glaze. A marine-grade UV wax can also be applied for extra protection, with recommended intervals for reapplication.
- Final Surface: Fillers are applied, not exceeding a ¼ inch in depth, and sanded uniformly until the area is even and fair. For Gel coat final sanding, finer grit sandpaper is used.
- Priming and Coating: The surface is prepped, masked, and sprayed with 2-part epoxy primer or color-matched polyester catalyzed gel coat. Additives like liquid wax solution or Duratec Products prevent post-curing tackiness.
- WHAT OUR CUSTOMERs SAY ABOUT US
TESTIMONIALS
[trustindex no-registration=google]